
We may earn money or products from the companies mentioned in this post.
Hi I'm Lynn, You can find me blogging, cooking, and dreaming about how to decorate my house, in my spare time (who am I kidding? I have no spare time). I am the CEO and creator for LynnOak.com. All posts are reviewed and updated personally by ME - if you have any questions, feel free to contact me.
Latest posts by Lynn (see all)
- 17 Easy Tiered Tray Farmhouse Decor Ideas to Elevate Your Rustic Style - February 23, 2024
- 17 Backyard Fairy Garden Ideas to Spark Your Imagination - February 21, 2024
- 10 Comfy Reading Chairs: Find the Perfect Spot for Your Next Page-Turner - February 15, 2024
 Don't you just love those amazing signs that have cute sayings on them? I see them all the time in home decor magazines, I think they are awesome, but the price! Ouch! So I found some really cute ideas on pinterest.
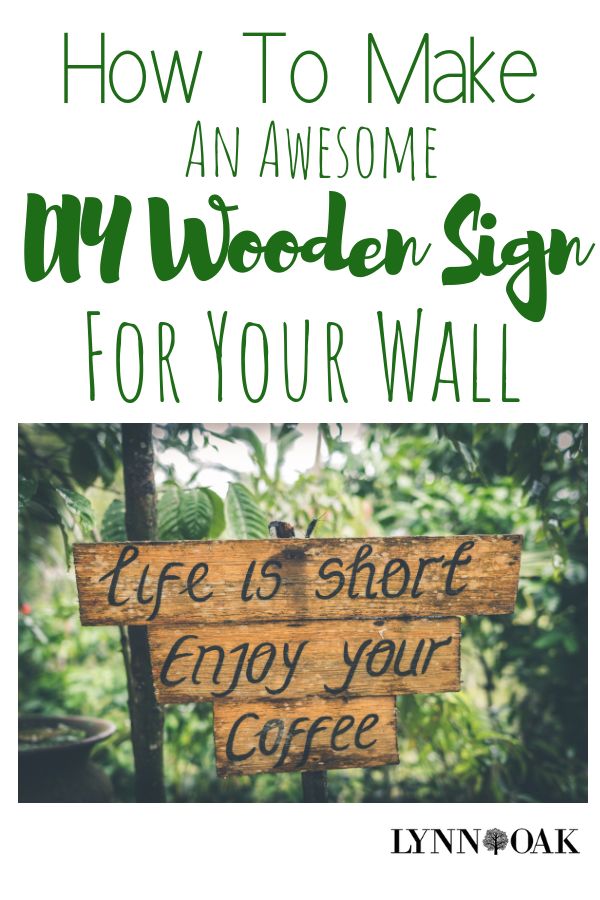
 They are really easy to make, much more than I thought they would be, you don't have to have one of those fancy printers that print on vinyl either. Just access to a computer and printer, and a few supplies and I'll show you how to make an awesome DIY wooden sign for your wall too!
Supplies Needed
Wood StainPaint Marker
Wood
Chalk Paint to make it white
Paint Brush
Varnish -whisper
Chalk
Wood Tint Paint
American Soft Touch Varnish
printer/computer
Wall Hanging Hardware
Step by Step Instructions
First thing to do is get a place prepared for working on this craft project, with news papers or a piece of plastic to protect the surface that your working. I'm really messy so I need to tape plastic everywhere even the floor. lol!1. First thing you will need to do is get your wood ready so you will need to stain or paint your piece of wood, this might take 1 coat or several depending on what you want you sign to look like. Let your piece dry for a day.
2. While you wait for your wood to dry, let's do some digging on the web for some design ideas. I like looking on pinterest for that, I made a whole board with ideas that have different fonts and sayings that I like. I really want to make the one that has a place to hold your keys and then one for the dog lead. So cute! There are so many ideas.
3. After you've found the saying and the font that you like. Go to your word file on your computer and find the font that you like and type in your words changing the font, until you find what you like. Then your going to enlarge it until you get it the size you want. I print out one page with just one or two letters on it until I get the correct size I want for my board. Then I will type in the words, just like I want it, then print it all out. You will be cutting the letters out one by one so you can trace them on the board.
4. Print out your sign and cut out the words.
5. Then flip your words or letters over and your going to color the whole back side of your letter with your chalk or a pencil.
6. Tape down your letters with the chalk side to the board where you want them all to go.
7. Trace the letters one at a time so that the chalk will make the outline of the letter on your board. Then remove your papers one by one. You should see the outline of the letters now on your board, if not trace again until you do.
8. Now the fun part! Take your paint marker use your paint marker fill in your chalk outlines. Let Dry
9. Now you can be done or you can varnish and let dry.
10. Add the hardware to the back side and hang on the wall! Your Done! Doesn't it look Awesome!
See how easy that was! And it looks Fantastic! I just love the trick with the chalk, it really makes it easy to trace your letters faster. The possibilities are endless! You can make a long one for Christmas and put outside your front door as a cute display piece. Or any holiday for that matter. Oh and this will make Amazing gifts for everyone!
With a little hardware added to the front you can make a really nice entry hall coat hanger with a cute saying on it. See how quickly I can think of ideas. This would be really great to add to your farm house decor theme!

2 comments for “How To Make An Awesome DIY Wooden Sign For Your Wall”